Infuse is able to connect to many different devices using SMB, NFS, FTP, SFTP, FTPS, FTPES, UPnP, DLNA, and WebDAV to browse, download (iOS/macOS/visionOS only), and play videos.
Enable File Sharing
Before adding a connection in Infuse, double-check that SMB File Sharing is enabled on the device you wish to stream from.
Create a New Share (iOS/macOS/visionOS)
Once file sharing has been enabled, it's time to move to open Infuse on the iPhone or iPad to create a connection.
Step 1. Tap the Settings (gear) icon in the lower right corner, and select Add Files.
Step 2. Once in the Add Files menu, any detected devices will be listed near the bottom in the Available Shares section.
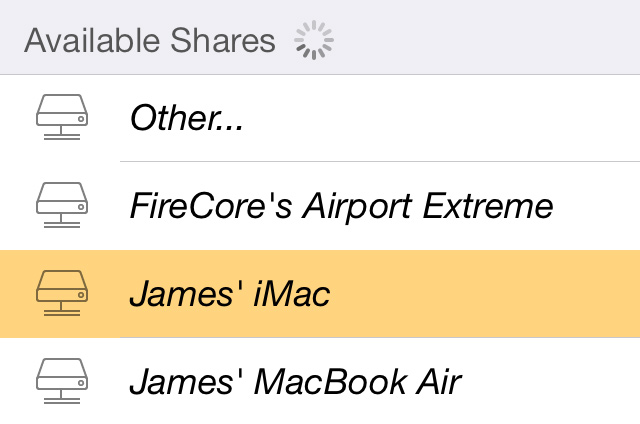
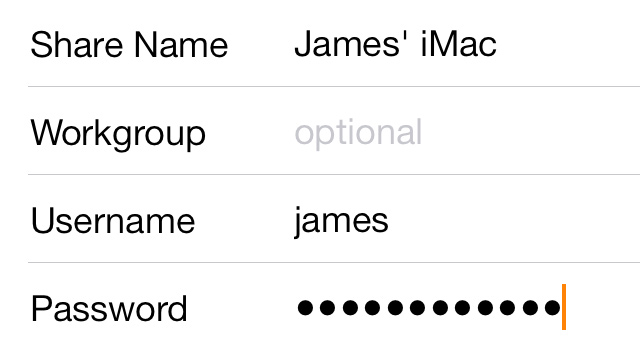
Step 3. Select the device you wish to connect to, and enter the username and password. You can also set a custom Share Name, which is only used for identifying the share in Infuse. Note: Leaving both username and password fields left blank will cause Infuse to connect as a guest, which may limit which files are available for streaming.
Step 4. (optional) If no devices are detected, you can set up a connection manually by tapping the Other... item.
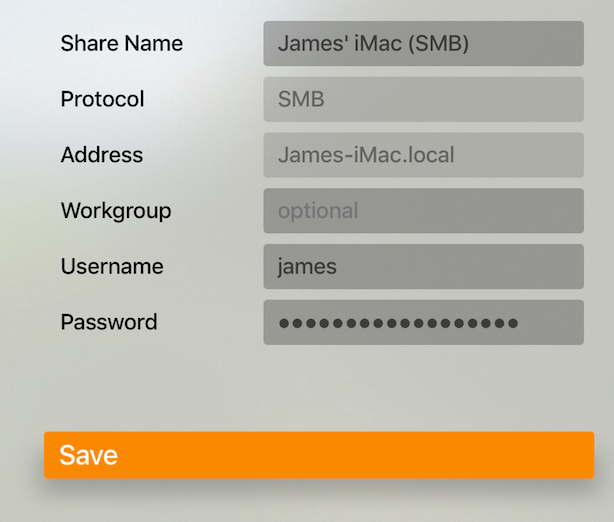
- Share Name: A name used to identify the share in Infuse.
- Address: Network address of the share. E.G. iMac.local or an IP address
- Workgroup: (optional) Used when connecting to Windows PCs. The default workgroup name is: WORKGROUP
- Username: Username used to log in to the share. (Note: If connecting to a Time Capsule or Airport Extreme set this to 'admin')
- Password: Password used to log in to the share
Library features will not be available when connecting via UPnP or DLNA.
Create a Custom Share (iOS/macOS)
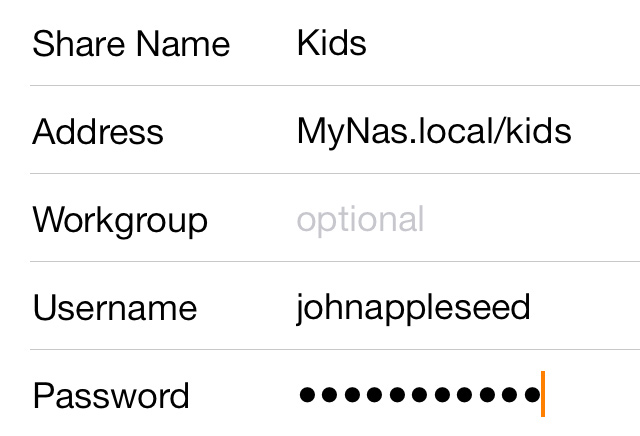
By default, Infuse will connect to the main share with all folders visible, but this can be customized so only a certain folder is available. This is done by setting up a share with a custom path.
To do this, you can follow the steps under #4 above that describe how a manual connection is created. The only difference being you can add a path after the share in the Address field, as shown below.
Some devices prefer one slash type over the other, so if "/" doesn't work you may try using "\".
Create a New Share (Apple TV)
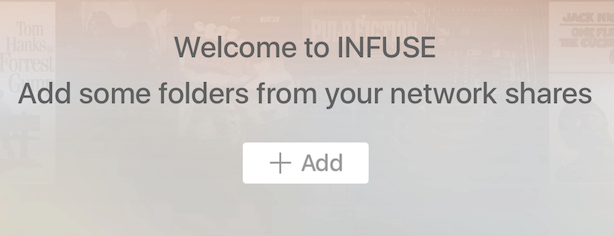
Step 1. Tap the Add button that appears after launching Infuse, and select the Shares menu.
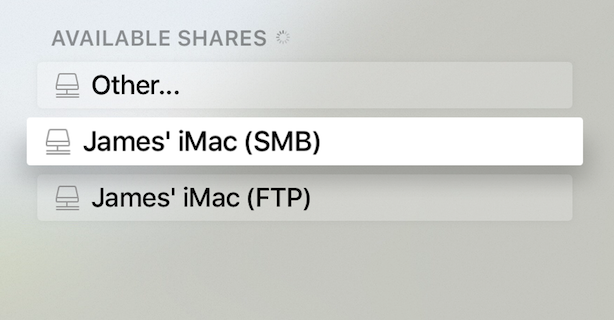
Step 2. In the shares menu, Infuse will list all the devices it is able to detect on your local network. Select the one you wish to stream from.
Note: If no devices are listed, you can tap the 'Other...' option to create a share manually.
Step 3. Enter the username and password for the device, if required.
Leaving both username and password fields left blank will cause Infuse to connect as a guest, which may limit which files are available for streaming.
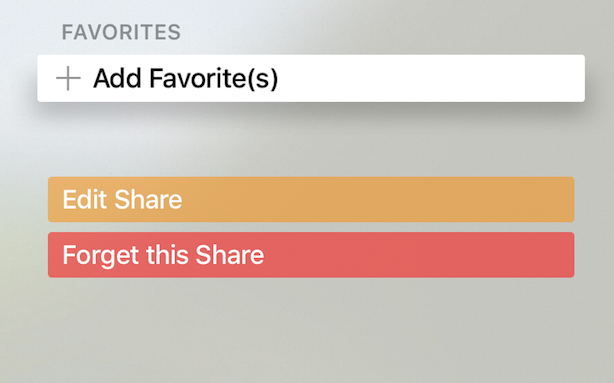
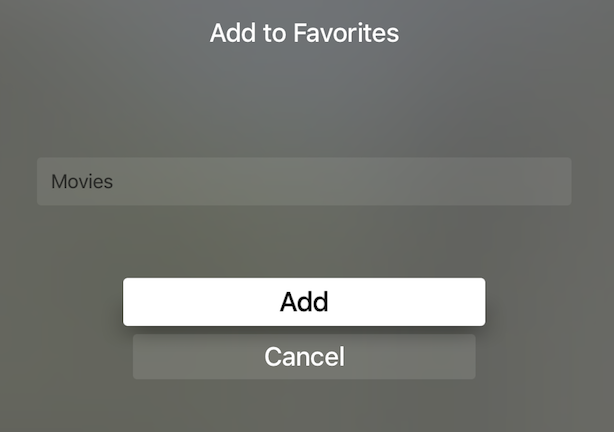
Step 4. After saving the device, Infuse will test the connect and prompt you to add one or more favorites. Favorites are quick links to folders that are displayed on the Infuse home screen.
Adding at least one favorite is required in order to access videos on Apple TV.
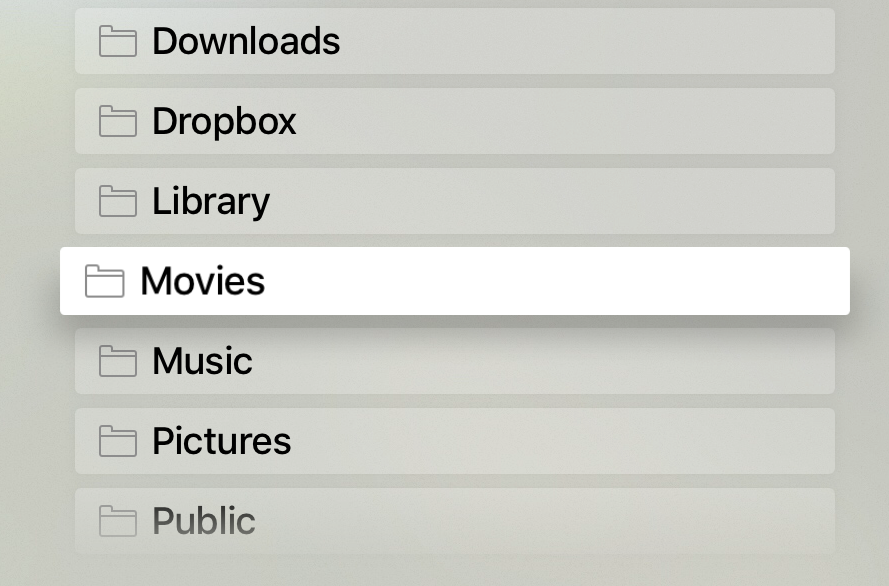
Step 5. To add a favorite, simply locate the folder you wish to add, highlight it, and tap/hold the select button to save it.
Troubleshooting
If you are having trouble when using SMB, or are seeing slow speeds you may try adjusting the 'SMB Version' option found when editing the share details.
- Auto (default) - Automatically select the best version of SMB for your device
- SMB3 - Connect with SMB3 only
- SMB2 - Connect with SMB2 only
- SMB1 - Connect with SMB1 only
- Legacy - Connect using an alternate SMB implementation which is compatible with certain devices (SMB2 and SMB1 only)
SMB3 has an optional encryption feature which adds an extra layer of security. However, in some cases having this enabled can lead to lower performance due to the added security overhead. If you are using SMB3 and seeing slower than expected speeds, you may try disabling "Transport encryption" (or similar) on your server. This will allow you to take advantage of the improved connection security of SMB3, but with the same speeds as SMB2.